Most envelope printing jobs are pretty simple. Typically, they consist of a return address and maybe a logo in one corner. On occasion, folks get a bit adventurous and print their address on the back flap. Consequently, we keep standard size envelopes in stock and run these types of jobs almost daily.
Sometimes, though, marketers want to make a bigger impact by designing an envelope that is wall-to-wall imagery and copy. If you are a print consumer you are most likely familiar with the concept of “bleed”. When you want your images to run to the edge of a printed piece–to appear to bleed off the edge of the sheet–we have to print your piece larger than its specified size and then we trim it back to the smaller desired dimension. But how do we achieve that on an envelope, you ask? After all, if you trim an envelope, it loses its ability to enclose anything.
To understand the technique, it helps to remember that an envelope starts its life as a flat, unprinted sheet of paper. Machines diecut the sheets to an unfolded size, apply re-moistenable glue to the flap area, and then fold, glue and assemble a finished product. Finally, those unprinted envelopes are counted, boxed, and sent to the office supply store or paper distributor.
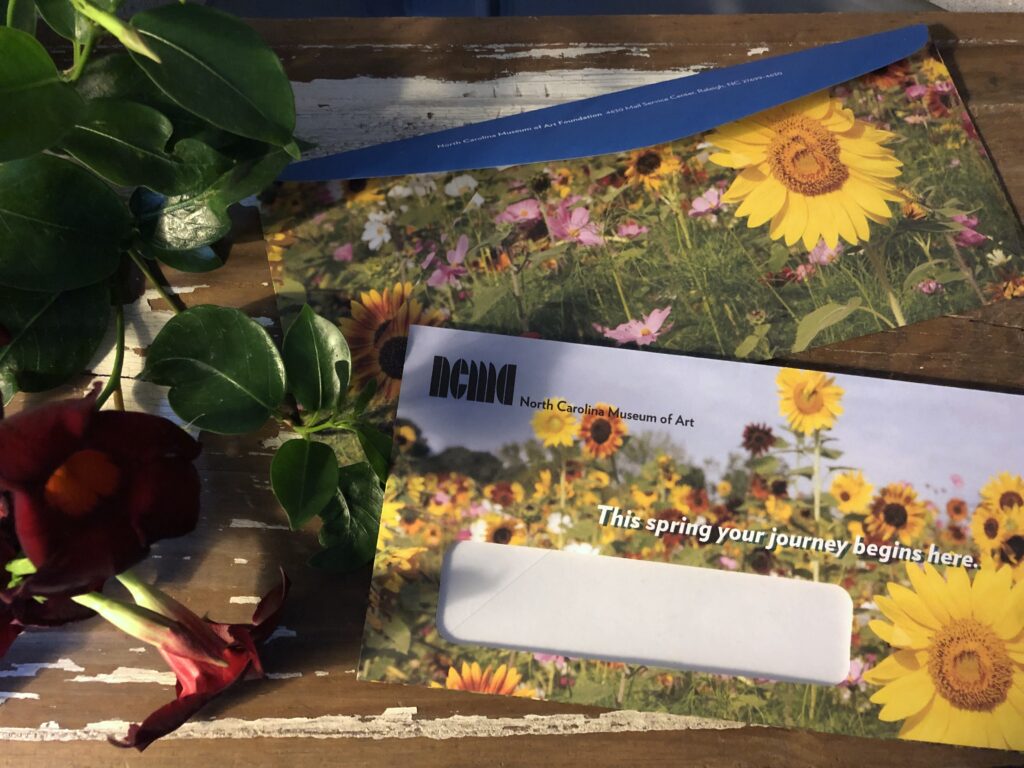
The only thing we do differently is that we print our customer’s artwork on that flat sheet of paper. Then we send them to an envelope converter who has the specialist equipment that makes the process efficient and cost effective. We recently produced a very colorful window envelope for the North Carolina Museum of Art. Let’s follow the journey the envelope took from printing to conversion.
Using a template provided by our partner vendor, Piedmont Envelope Converters, we laid out four envelope blanks on a 19″ x 25″ sheet of 80# text which we printed in four color process and shipped flat for converting.

This layout maximizes printable area and minimizes material waste.
Our vendor starts by jogging and clamping the printed sheets to eliminate movement and then positions a deep knife-edged die that looks like a huge cookie cutter onto the printed area. They run the die under a hydraulic press which results in a cookie-cut stack of envelope blanks.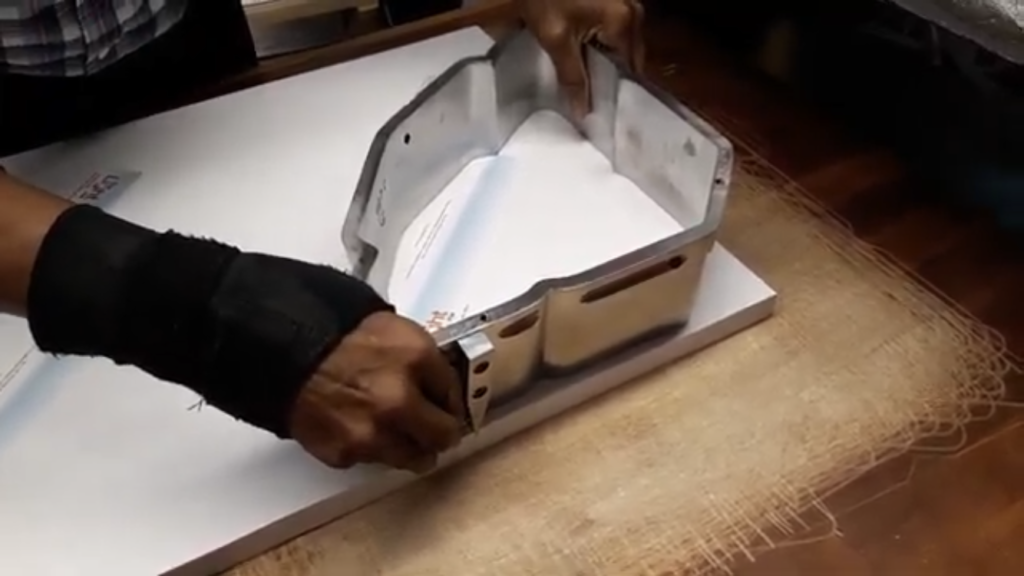
Just like gingerbread…it is literally a cookie cutter!
They then process the die cut blanks through a multi-functional folding machine which completes several operations in-line. First the blanks shingle around a drum which applies re-moistenable glue on the flap and transports them over lamps that dry the glue. Then the blanks pass through a station which cuts windows, stamps gum around the window opening and applies a glassine patch to the envelope. 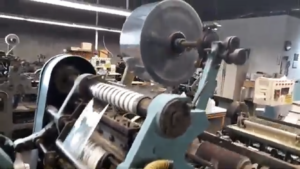
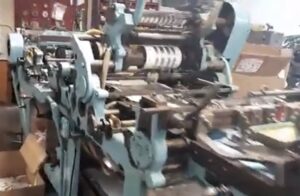
The sheet then gets lightly scored into panels which are folded and glued into an envelope with an open flap. The final step is that the flap is folded over and the finished product is counted inspected and boxed. You really should watch this link to see how its done.
Consider one last thing if you are thinking about producing a converted envelope–the inside can be printed as well. Make a dramatic and unexpected impression like Donovan’s Dish did with this great use of a company logo and brand color. Specialty envelopes are just another reminder that Print provides powerful, tactile engagement with your customers and prospects.
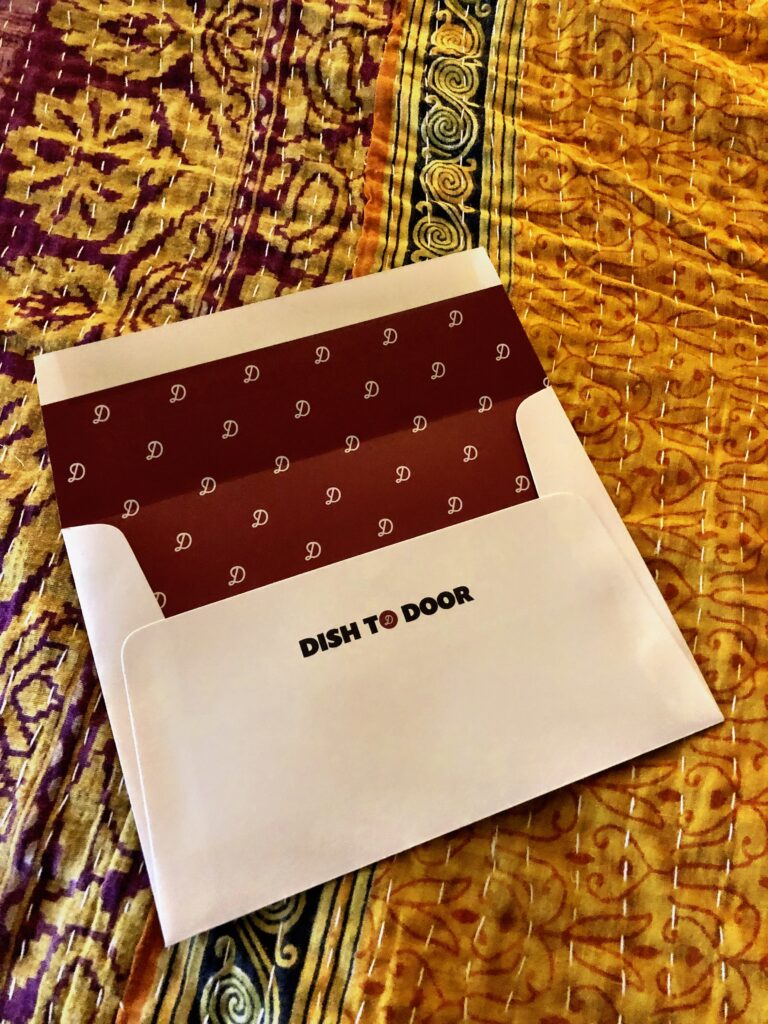
This example creates the illusion of an envelope with a liner while establishing a sophisticated brand presence.